
The Supreme Banana Bread

Tips for talking with your child about art

Spring vegetable quinoa pilaf

Cooking with kids: Super easy homemade tuna cakes
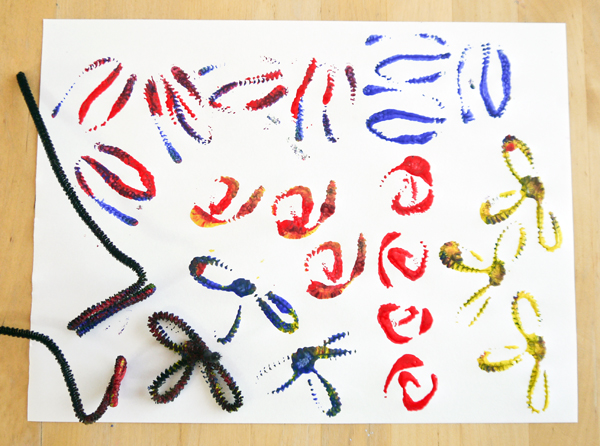
Painting with pipe cleaners

Fine Art for Kids: Staying in the lines with Robert Delaunay
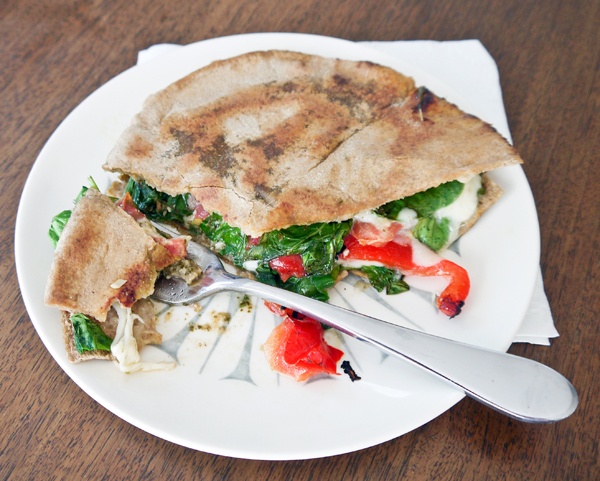
Summer Sandwiches: Healthy Italian Melty
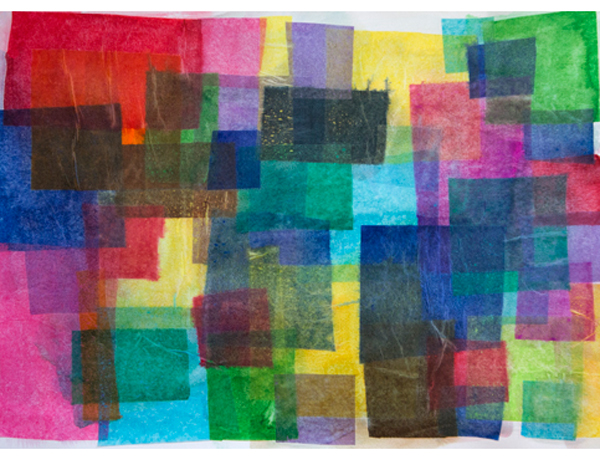
Fine art for kids: Overlapping with Hofmann
Tinkerlab: A Hands-On Guide for Little Inventors
Featured Category
Tips for talking with your child about art
Creating art with your child should be a fun experience even if you’re not arty yourself. Keeping in mind that your child is making marks simply for the pure pleasure of it, and not worrying about the result, is an important part of sharing the
Recent Comments